A loose fastener at a roof hatch can open a path around the curb even when the surrounding membrane looks intact. In Stevinson, CA, that detail needs a close check before a patch hides the attachment. We inspect the curb, flashing, fasteners and nearby seams, then compare the roof with the interior moisture mark. Stevinson lies north of the State Routes 140 and 165 intersection, and Route 165 runs toward Turlock and Los Banos. The road network helps orient a service call. It does not tell us what assembly sits on a particular building.
We begin with the defect and the building's operating limits. A penetration and curb inspection can show whether the leak starts at the hatch, a nearby seam or the field membrane. The written scope separates removal, substrate work and rebuilt flashing. For a broader problem, a commercial roof inspection records other conditions without assuming they share one cause. Owners managing property near Atwater or Merced can request a separate inspection for each assembly.
Start at the hatch curb
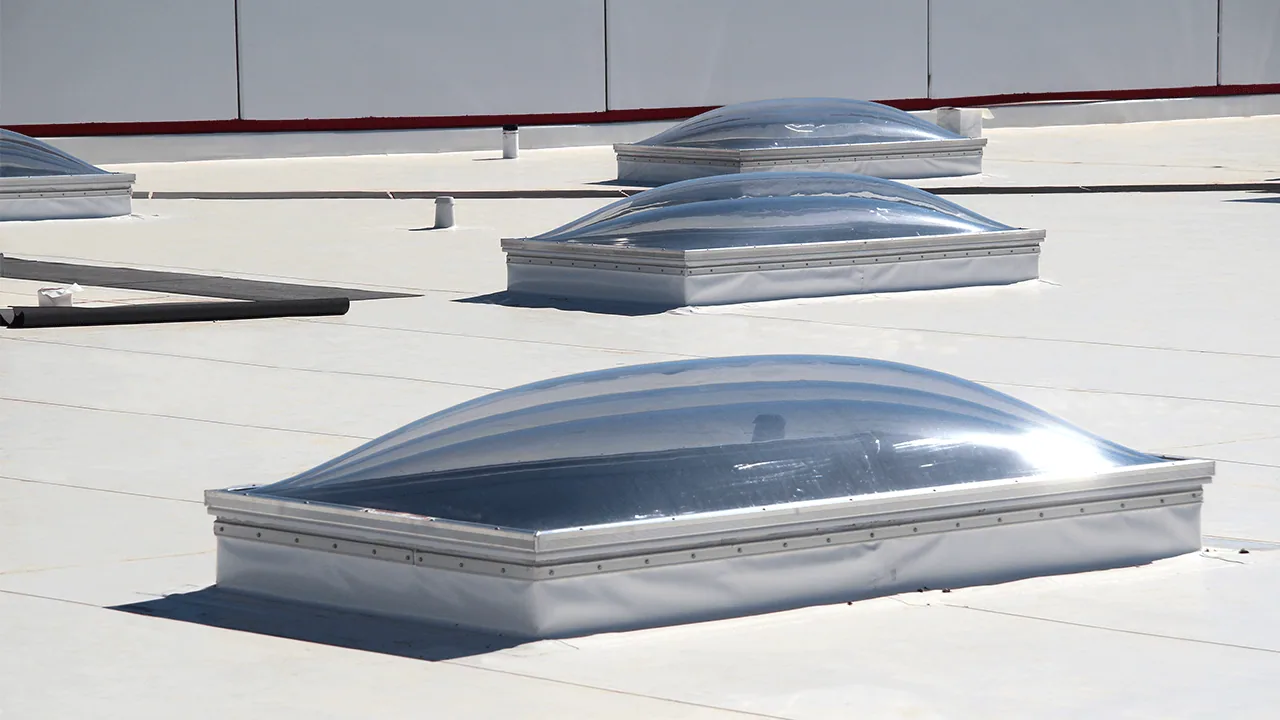
The curb is a transition between the roof field and an opening that must remain usable. We check its height, corners, flashing laps and the point where the membrane turns up. A crack at one corner may be limited to the flashing, while movement at the curb can loosen attachment on more than one side. We photograph each side and note any ponding or debris that could hide the lower edge. The repair should identify which components are removed and whether the curb itself needs correction.
Interior evidence can help, but it must be compared with what is above. A stain beside a ladder or access point may result from condensation, piping or a roof opening. We look for a consistent moisture path and avoid treating a single mark as proof of a failed hatch. If the membrane is older or its composition is unclear, a controlled test opening can confirm the layers and bond line. The finding then informs a compatible leak repair rather than an untested surface patch.
Heat movement at the curb
Merced's 1991 to 2020 climate normals average 22.8 days each year with highs at or above 100 degrees Fahrenheit. At a Stevinson property, we check the actual roof condition and access before planning the repair. Heat can cause the membrane, metal and fasteners to move at different rates. At a curb, that movement may concentrate at corners, terminations and screws. We look for a stretched hole, a wrinkle that stops at the curb, a released bond line or a split at the flashing turn. Those clues determine whether the repair needs new attachment, a rebuilt corner or a broader section.
Route 165 connects north toward Turlock and south toward Los Banos. We use that local geography to understand the service area, not to make assumptions about property access or roof stock. For work near an active entrance, we plan material staging and lift placement with the manager. A metal transition check may be needed where the curb meets a perimeter or equipment screen. We also inspect adjacent equipment supports when the same movement appears at more than one connection.
Repair or rebuild the transition
A flashing repair can stay local when the curb is stable, the surrounding membrane remains sound and the substrate is dry. We remove failed material far enough to reach a bondable surface, prepare the edge and install compatible flashing. If fasteners have loosened or the curb has shifted, the scope must address attachment before it covers the transition. Wet insulation below the curb changes the work again. We document the opening and separate necessary removal from any optional roof-area work.
When similar failures appear at several penetrations, the owner may compare localized repair with a larger renewal. A recover assessment checks whether an added layer is appropriate for the existing assembly. Replacement becomes a separate option when the substrate or field membrane cannot support a reliable repair. Coating is considered only after adhesion, seams and drainage qualify. A flashing-failure review can focus the decision on the transition rather than treating every roof condition as a replacement trigger.
Plan the access window
A hatch repair can affect roof access for maintenance staff. We confirm how the opening is used, who needs it during the shift and whether another route can remain available while flashing cures. The work area should be protected from foot traffic, loose materials and weather between steps. If an opening must remain accessible, the schedule should identify when the temporary cover is removed and who confirms that the detail is closed. The manager receives a sequence that fits the building instead of a generic arrival time.
Stevinson's position by Routes 140 and 165 helps place the community within Merced County; the site manager still supplies delivery and access instructions. We coordinate noisy work, material movement and any lift with the owner's operating hours. A work plan for an occupied building can identify entries, equipment and restricted areas before crews arrive. For urgent water entry, emergency response can limit exposure while a permanent scope is prepared.
Document the rebuilt detail
Closeout should show the hatch curb before and after repair, the material removed, any exposed insulation and the completed flashing laps. We identify the areas opened and note whether the hatch can operate normally. If a roof test is included, the record states the method and the area tested. It should not imply that concealed sections were confirmed dry. Photos of corners and terminations make a later maintenance visit more useful than a single image of the finished surface.
When a leak returns, compare its location and timing with the previous repair record. A shifted stain may indicate a different path, while a repeated mark at the same curb calls for a closer check of attachment and adjoining seams. A condition report can preserve the photographs and remaining questions for the next visit. Request an inspection of the hatch, curb and nearby field membrane before the next patch closes the evidence.
Commercial Roofing Questions
Can a hatch leak be fixed with flashing alone?
It can when the curb is stable, the substrate is dry and the surrounding membrane is sound. We check the corners, attachment and nearby seams before limiting the scope. A loose curb or wet insulation needs additional work. The inspection should show which condition supports the repair boundary.
Does water near a hatch prove the flashing failed?
No. Water can travel from another seam, drain or penetration before appearing at the opening. We compare the interior mark with roof conditions above and record what is visible. If the path remains uncertain, a controlled opening may be warranted before selecting materials.
How do you keep the roof hatch usable during work?
We confirm the access schedule and identify when the opening must be clear. The plan can stage removal and flashing work so temporary protection stays in place between steps. If no alternate access exists, the manager and crew set a window for the repair and closeout.
When should several curb leaks trigger a broader review?
Similar defects across multiple curbs may point to a shared attachment or material issue. We inspect representative details and compare their condition before expanding the work area. The owner receives a separate repair option if field seams or insulation also show failure.
What belongs in the hatch repair record?
Photos should show the original curb, exposed layers, new flashing and completed corners. The record notes any test performed and any area outside the opening. That keeps a future inspection tied to the actual repair rather than a general note that the hatch was sealed.
Inspect the hatch and transition
Request an inspection of the hatch curb, flashing turns and nearby membrane. We will document the condition and set a repair boundary that keeps roof access in the work plan.
Related Roofing Work